


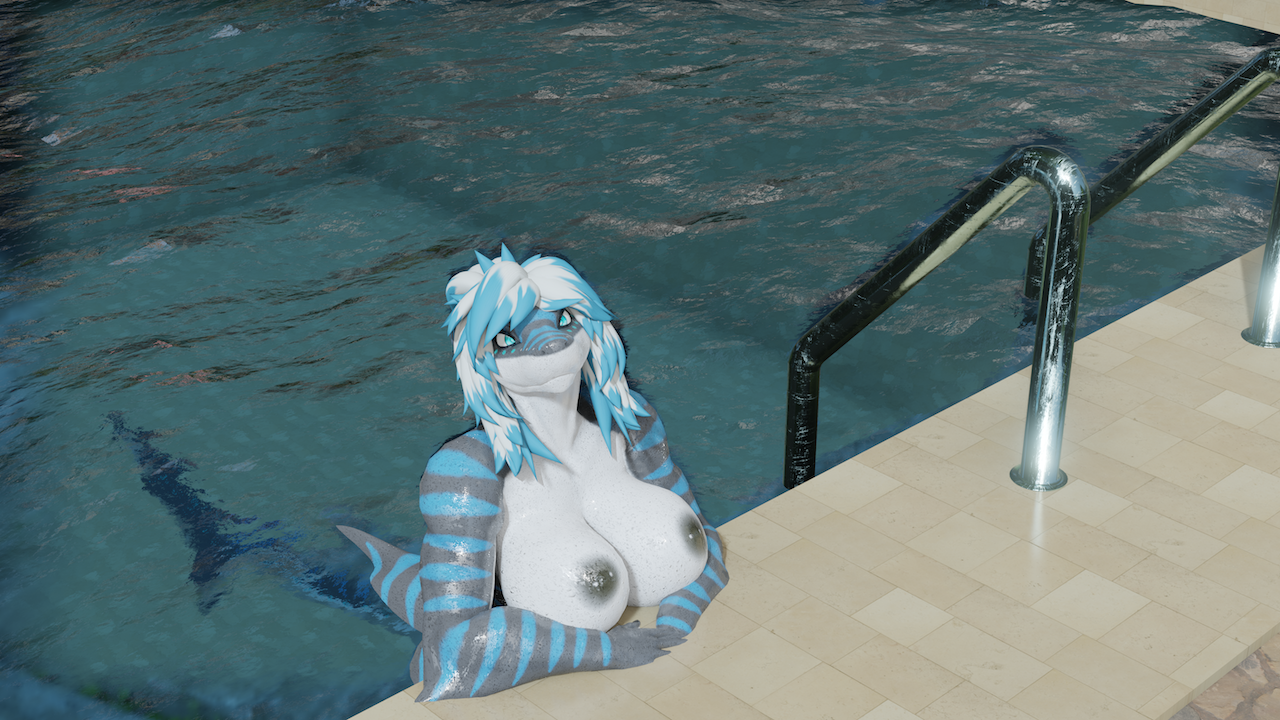
Nika's Pool Party
Originally released in meow.social.

"A shark wanted to host a night party for her fellas."
Start Date
November 18th, 2023
Completion Date
November 23rd, 2023
Renderer
Cycles, 30 samples at 3840x2160

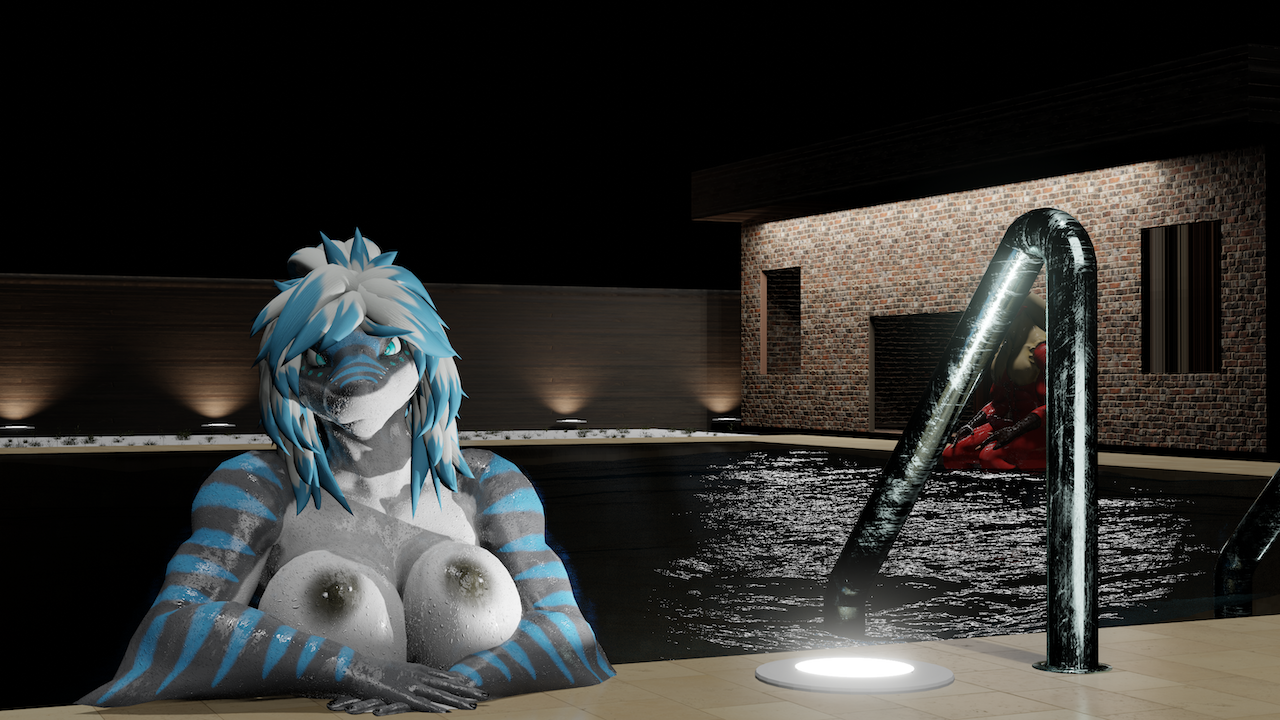
Alternate shots


Assets and Sources
Characters
- Nika Shark
- Zeraora, Renamon, Krystal, Fox McCloud, Sly Cooper, Carmelita Fox
- Maleziken, Blaze the Blaziken
The character is by NikaSharken, with the body base rig and mesh by Necroticus, design and export by Warfaremachine, and textures and initial blender IK rig by annoad, which was updated by Sir_Gynn.
Original models by Warfaremachine, and then rigged into blender by blendrdragon.
Created by Choco.
Textures for the ground and pool tiling are from Poly Haven.
Development and Notes
This project was quite the learning experience for me when it comes to using Blender. Come to think that the last project was a simple looping Sly Cooper animation using EEVEE, to now do this full-scale render that actually has stuff going on is nice.
It isn't to say that it was meant to be like this however. This was the result of feature creep, as the entire scene originally was just going to involve Nika sitting in a pool as I has figured out how to implement the Maleziken's moist material to that model.

After the initial test, I began to have some thoughts about the scene being "baren" or "empty", and had the itch to add more. This would end up involving 15 different revisions where I bounce back and forth into how the layout would be and the vibe I wanted to go for. The very first thing of those thoughts was making the entire scene into night time.
After test 6, I wanted to try using the Cycles renderer to see if that could improve render times between each test. It seemed like it did improve even while my Mac was throttling, so I stuck with it since. However, another problem arose after proceeding: RAM.
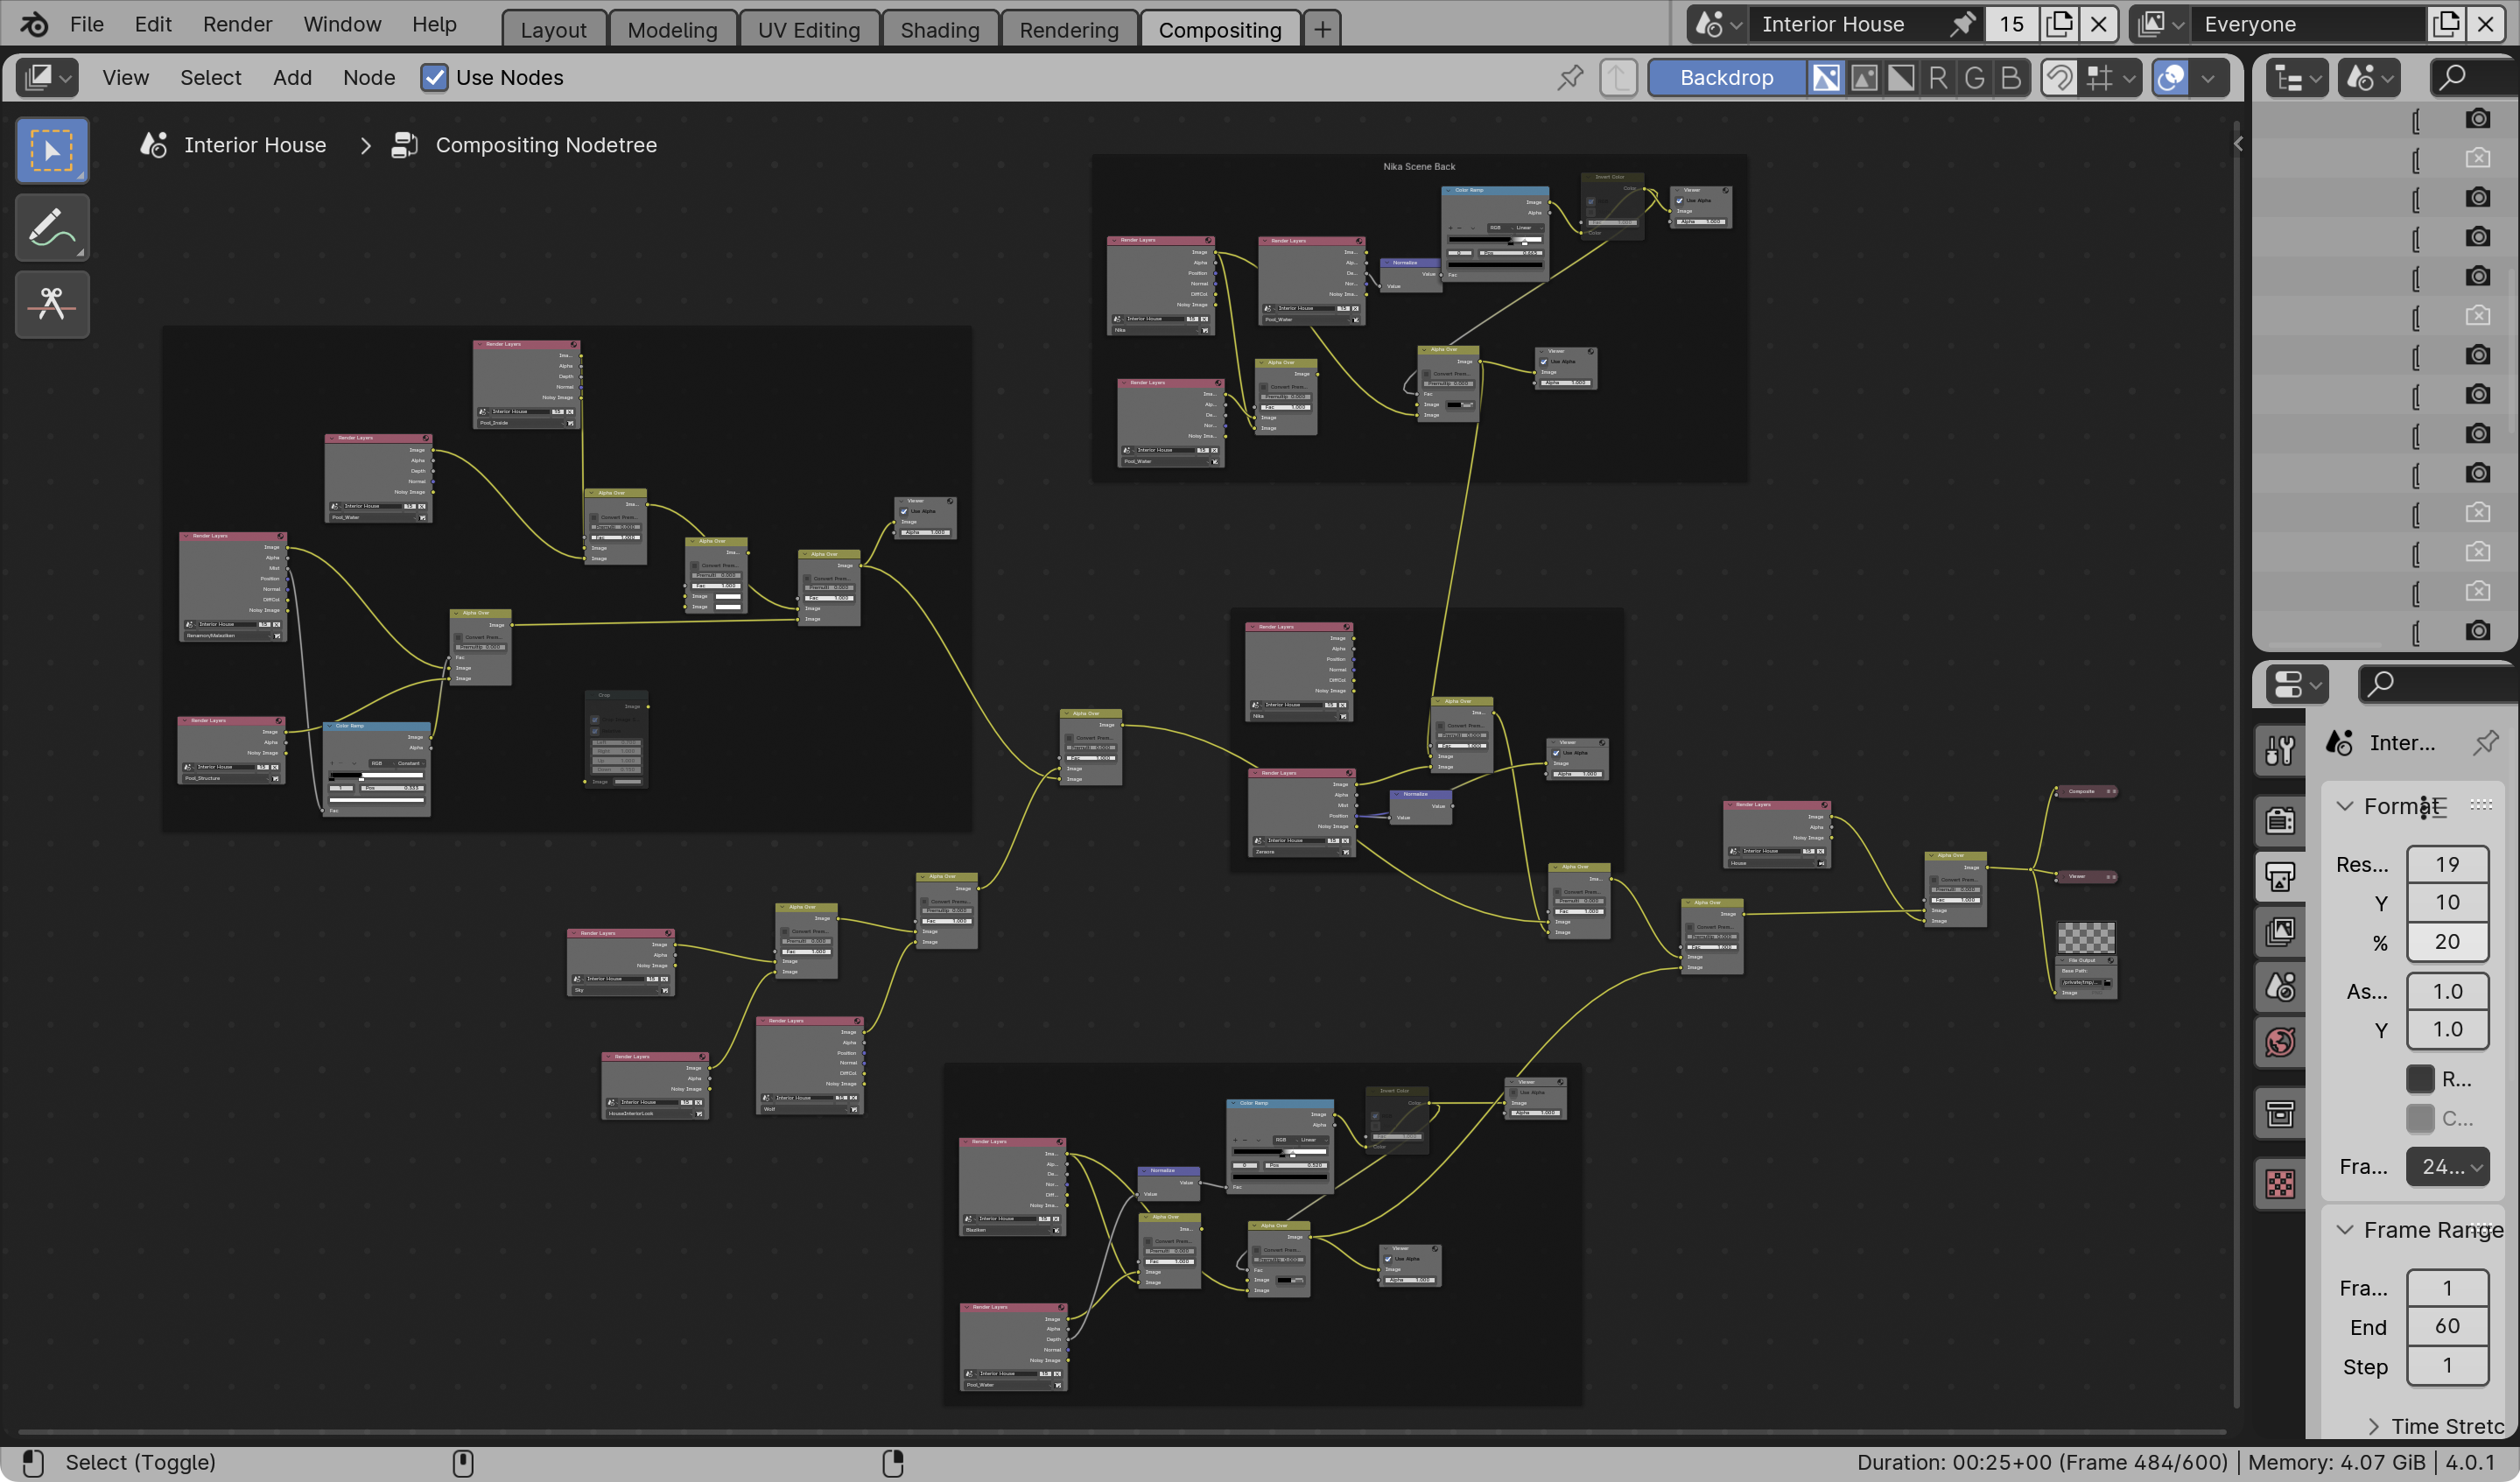
I hadn't realized it, but I was now using around 10GB of RAM on each render, which this Mac absolutely does not have; it's just a base model M1 Macbook Air which has 8GB, so it had started to use swap memory and I did not want the drive on this mac to degrade faster because of this. Enter View Layers.
What View Layers let you do is set individual scenes that will be rendered as separate images, which you can then save and put them all together by using the compositor or any photo editing software like Affinity Photo or GIMP. In this case, I decided to try Blender's compositor after checking a video by CG Boost about how to use it and its use cases.

I will admit that using the compositor can be confusing, but it becomes a skill when processing the final image; as you now have complete control as to how these layers will be put together, and you get to apply effects, color correction and gradients without having to re-render it all over again as you get to get information in different passes.

The House
Let me be honest here: I hadn't done any kind of modeling in Blender before. So the fact that I had all these ideas and then realizing "Oh fuck, wait I need to make buildings for this", was absolutely a scare for me. But I wanted to persist, so I decided to learn how to actually make models from scratch and just go from there. I started by doing regular floors, like the pool, stone pathways, garden walls; just the typical semi-flat cubes that can represent from kind of floor or wall.
But now that I wanted to have some kind of building, I attempted to check some videos from Blender Guru to see how it would go to make the Interior. Emphasis on the interior, because I winged the exterior in an attempt to figure out how to use the Edit mode myself. There's also this video from him where I learned a very important tip for extruding which helped with making things smooth.
The interior of the house also uses objects from the Arquimesh plugin that comes with Blender. This plugin lets you add windows, drawers, doors, lamps, books and a few other things that are meant more for arquitects, but can also work as block pieces for filling up an interior.

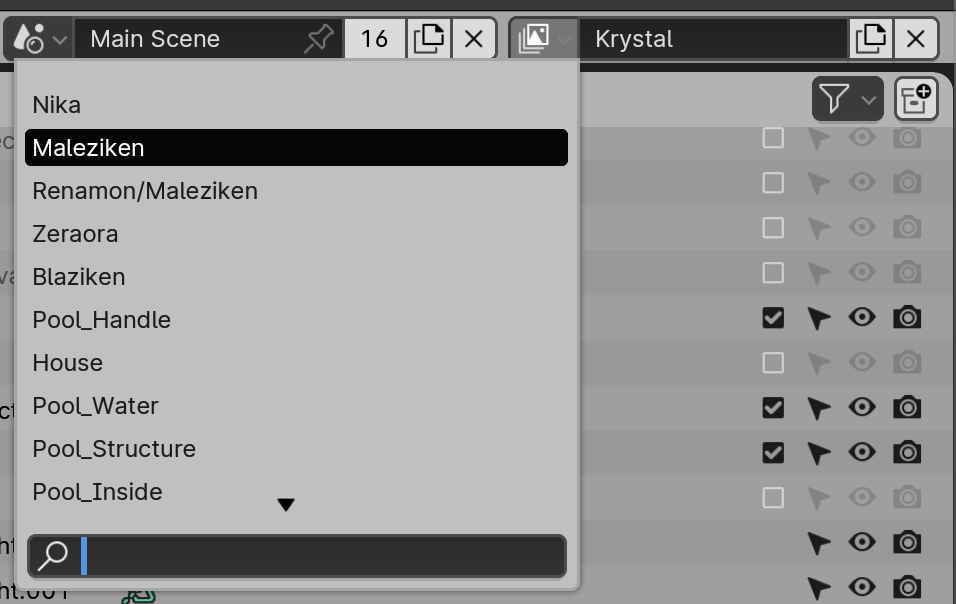
Learning about Model Hierarchy and Linking
I feel this is quite an important lesson for anyone who happens to do work in Blender that uses project linking to save space: Please make sure that if you're using multiple models, check that they are clean, and have proper / unique names! I say this in particular as I had to deal with multiple models having invalid materials, where I had to set them again every single time I opened up the project, or even worse: completely wiping your armature pose data.
The whole reason Krystal's armature reset here was that I had other models that happened to also be called "body", and blender was confused on which object to use it for. This also applied to shape keys and custom properties. As I mentioned previously, I had made Nika have the moist material, but I also did the same for Krystal, Renamon and Carmelita.
However, despite defining their custom properties and asigning their proper drivers to each one so that now I have proper controls on each object, because of that same naming on the objects themselves, it would sometimes not update the model's material at all because it was actually updating some other object without me realizing it.
Please be aware that this page contains Not Safe For Work content meant for adult audiences.